 Painting the Room
Well, the room has been painted ! It took me 4 1/2 weeks.
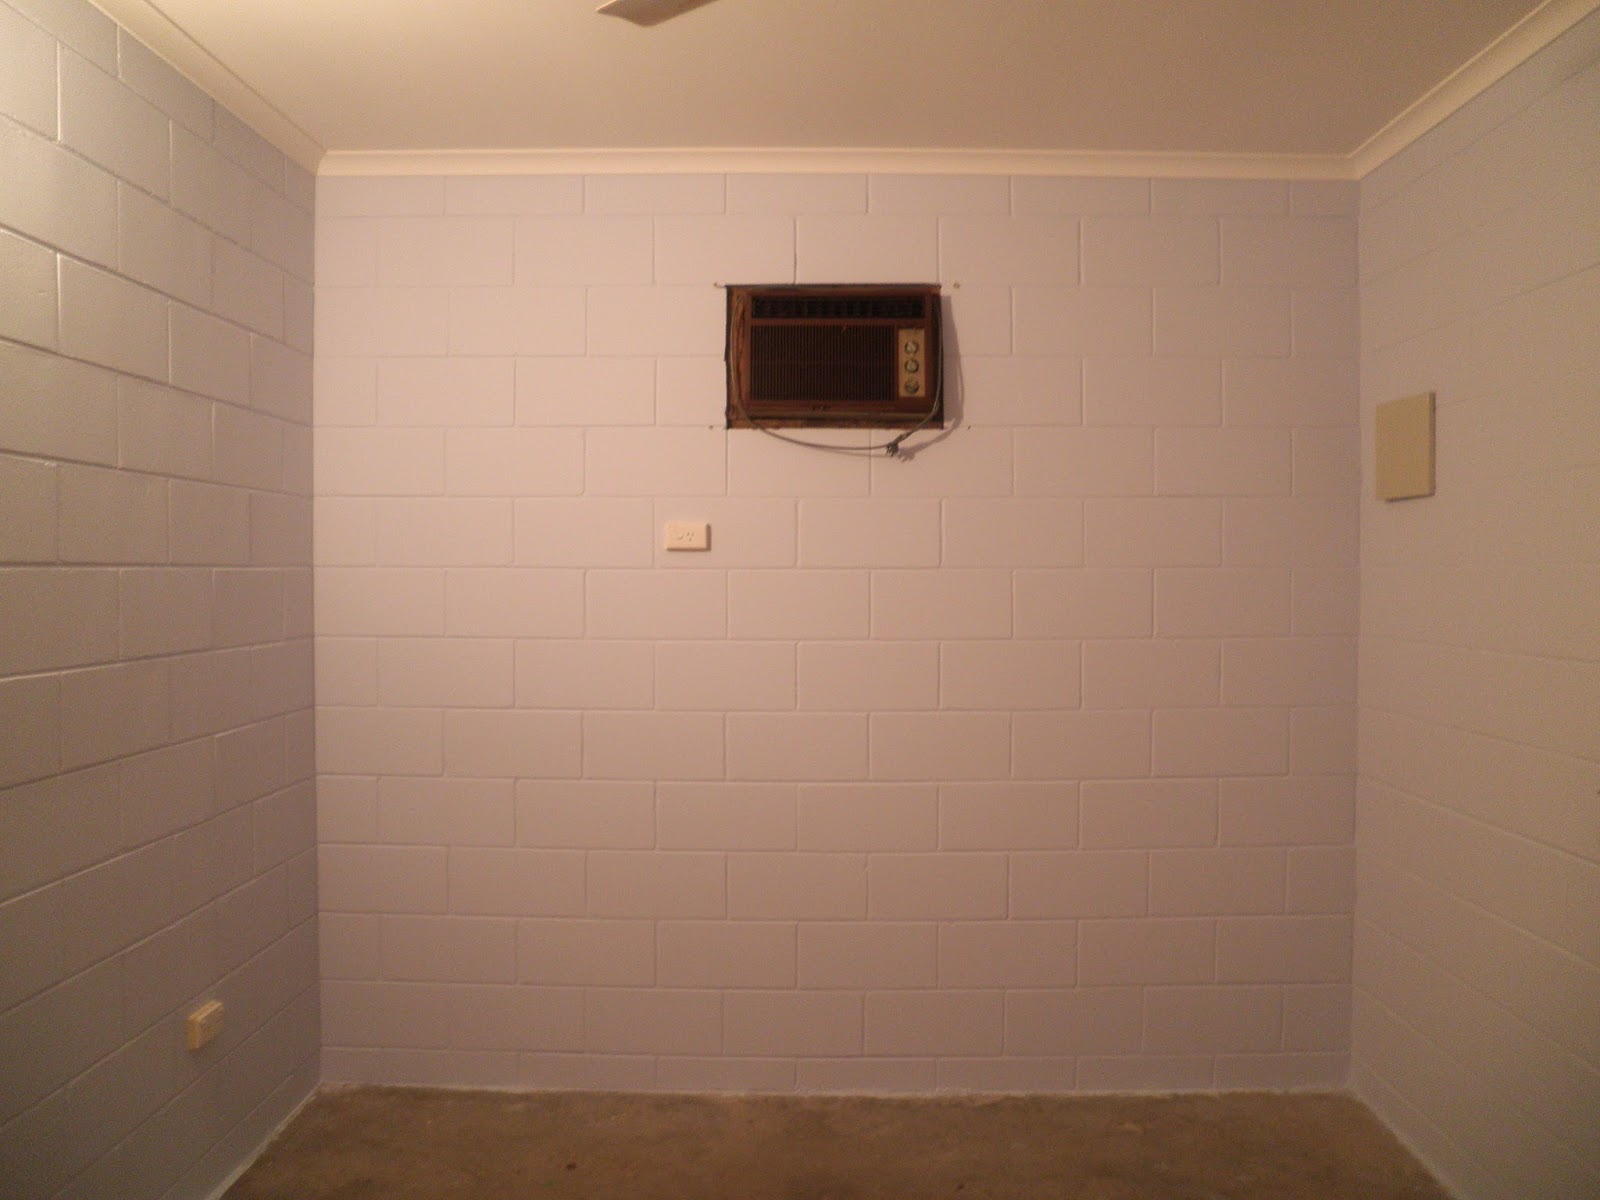
The light blue/purple (violet) door wall.
Approx. 4 m x 3 m
The light blue/purple (violet) top wall.
Approx. 3 m x 3 m
The light blue/purple (violet) window
wall.
Approx. 4 m x 3 m
And the charcoal grey grill.
When it came to putting the grill back
in the window frame,
the screws that held it up in the wall
were seen to be not secure enough,
so the grill won't be going back up.
The light purple end wall.
Approx. 3 m x 3 m
The off-white ceiling.
3 m x 4 m
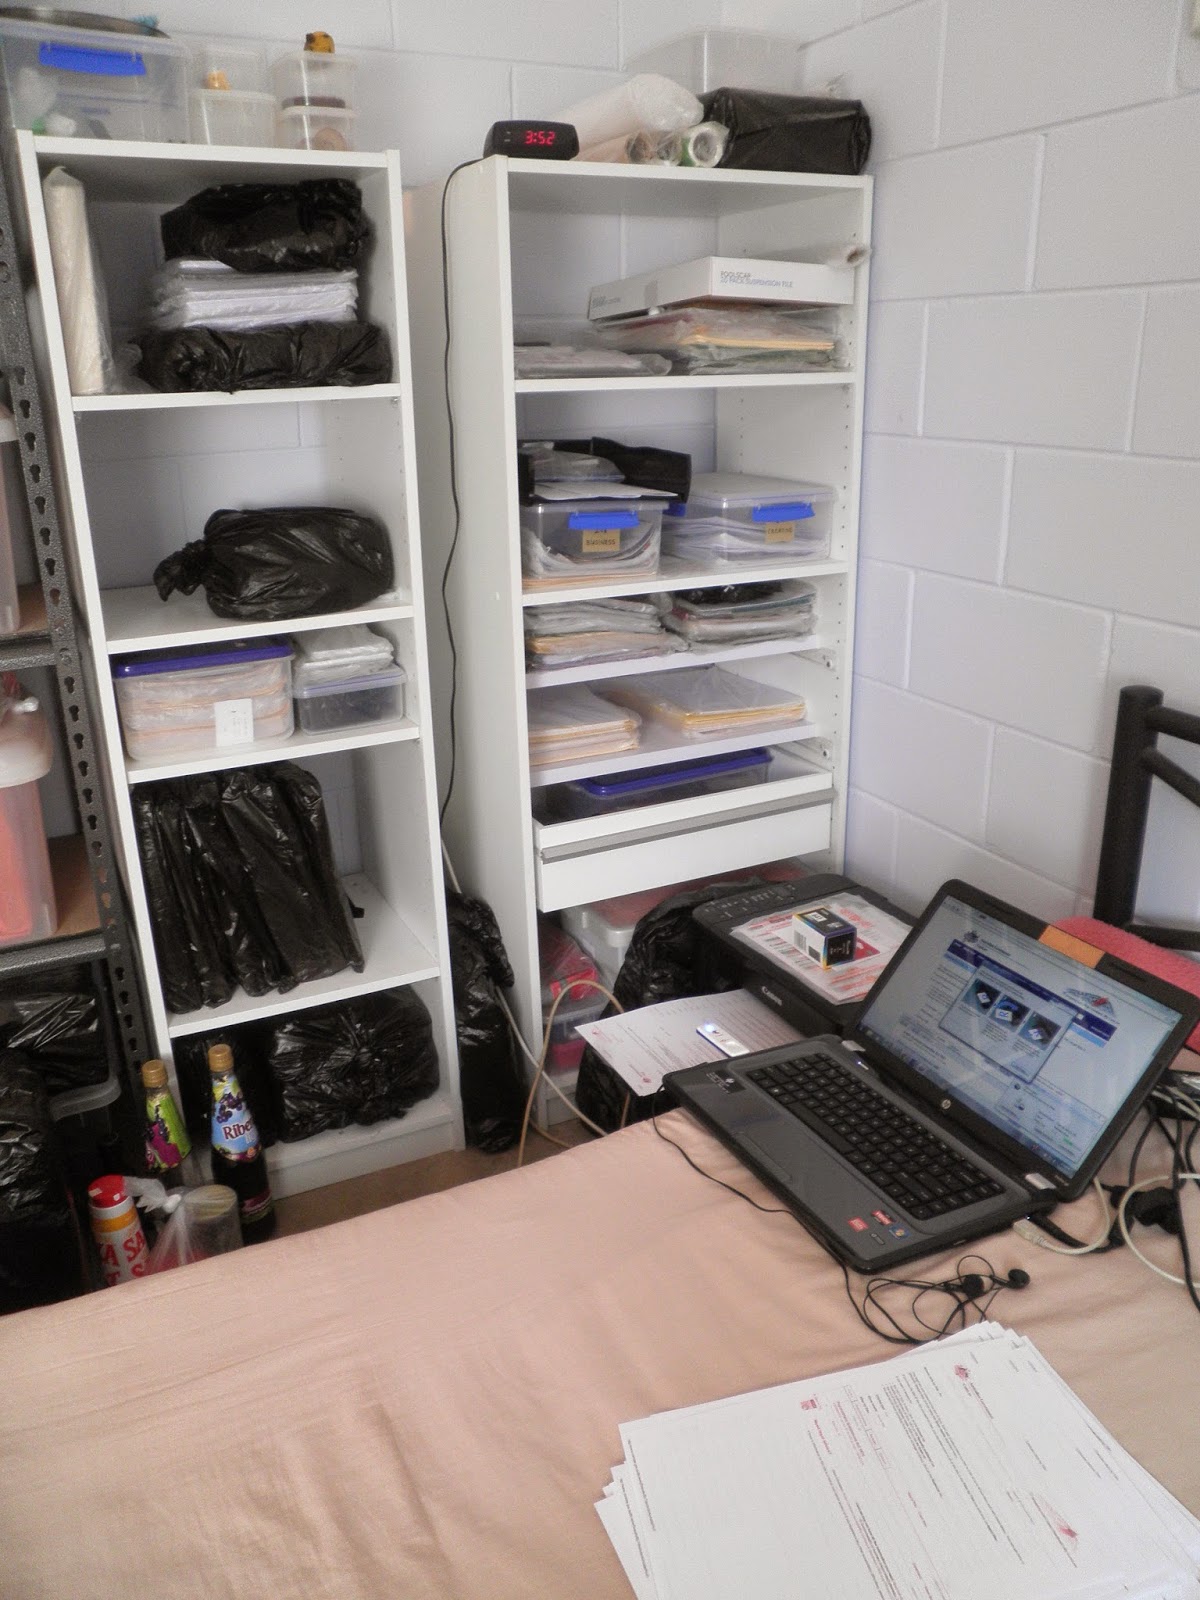
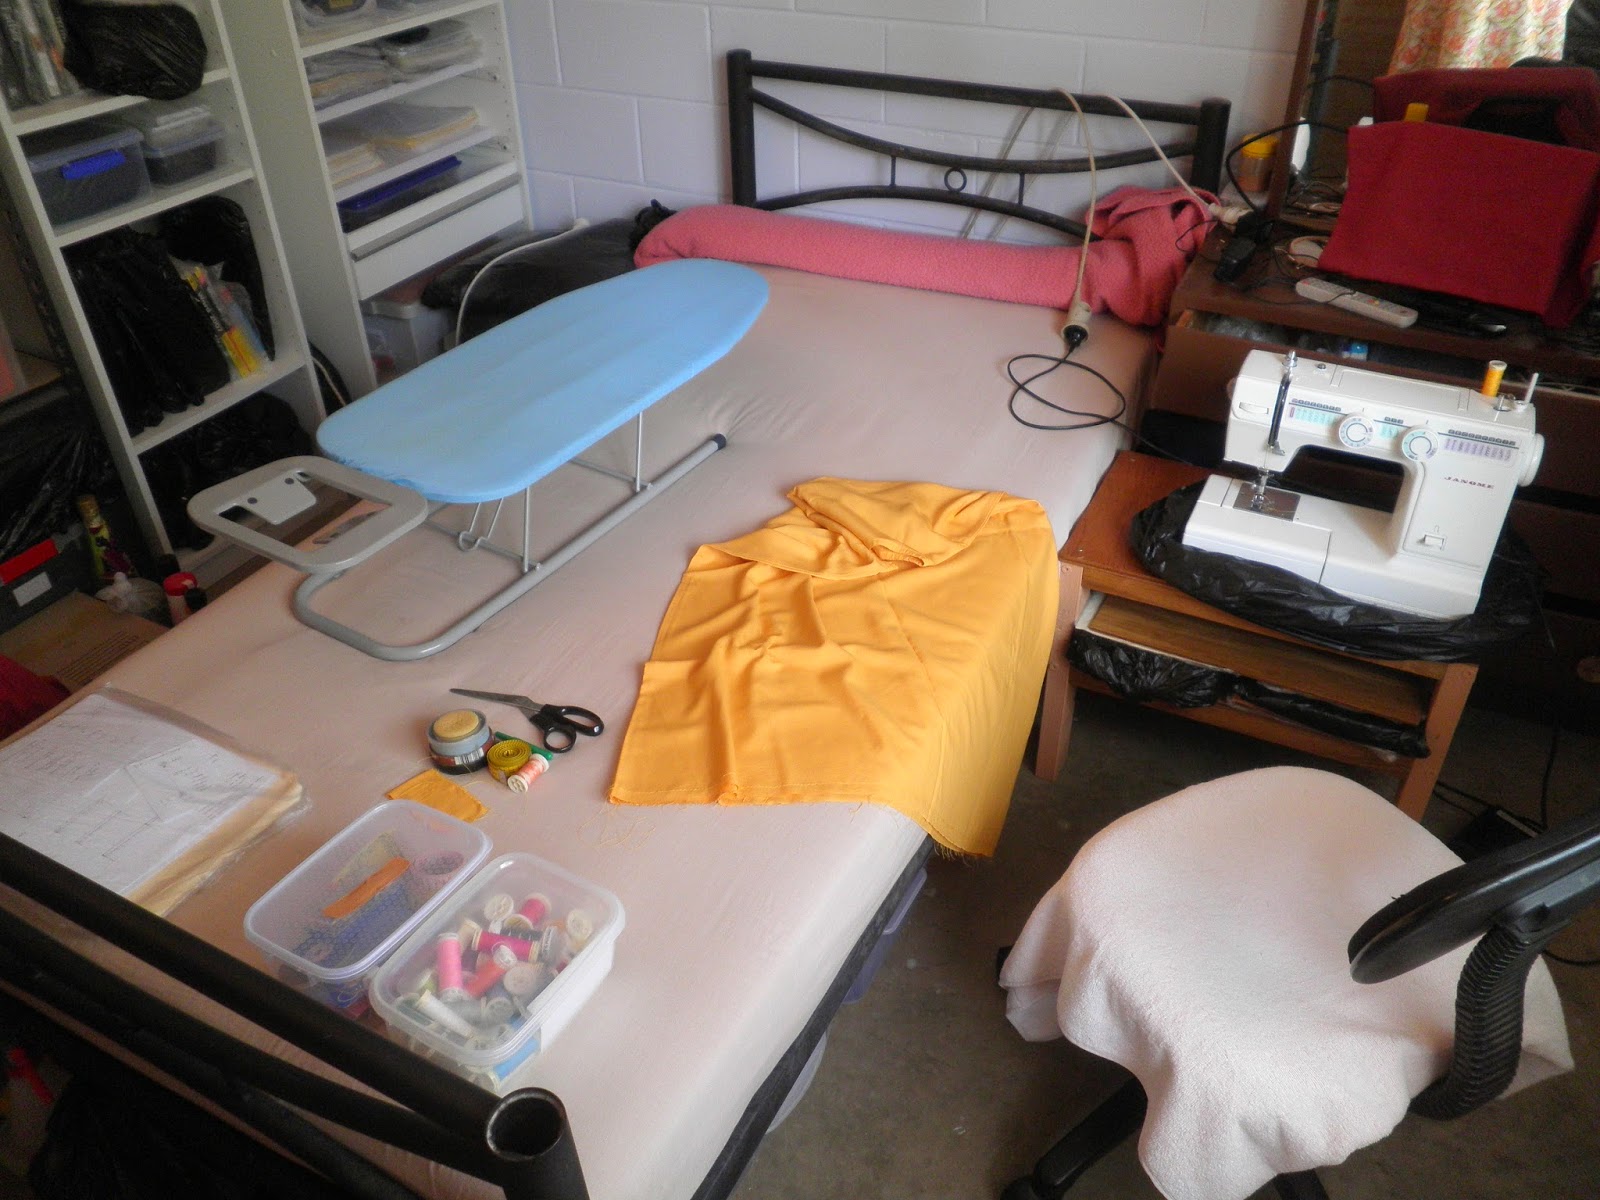
Equipment
- Green garbage bag - folded out, and
all paint tins etc. were put on it in
order to stop from staining the floor.
- Acrylic interior paint (flat/matt)
for the walls,
2 x 4L light blue/purple
1 x 4L light purple
- Acrylic ceiling paint (flat/matt)
2 x 2L off-white
- Epoxy enamel paint for steel (gloss)
for the grill,
1 x 500 ml dark grey
- mineral turpentine
(to clean up the enamel paint)
- masking tape ( for taping along edges
of window etc.
to enable a clean paint line,
which I didn't end up using)
- screwdriver (to open paint tins)
- flat wooden paddle stick
(to stir paint with, for 5 mins,
to mix prior to painting) - 75 mm wall brush
- 50 mm wall brush
- 25 mm wall brush
- artist's paint brush, size 0
- paint roller and tray
- paint roller screw-on handle

- bottom of a 2L plastic container
(cut from the top half using a serrated
knife)
- ladle
These are very handy.
I ladled out paint from the big tins
into this plastic "pot"
and used this to paint from.

- bucket
- cloth
- scourer
I filled the bucket about 1/4
the way up with water
and stood the paint brushes with
acrylic paint on them
in there against the sides
so they wouldn't dry out
when I wasn't using them.
A wet cloth and scourer
also comes in handy.
For the paint brush
with enamel paint on it,
I stood it up in the bottom half
of a 2L plastic container (as above)
half filled with mineral turpentine when I wasn't using it.
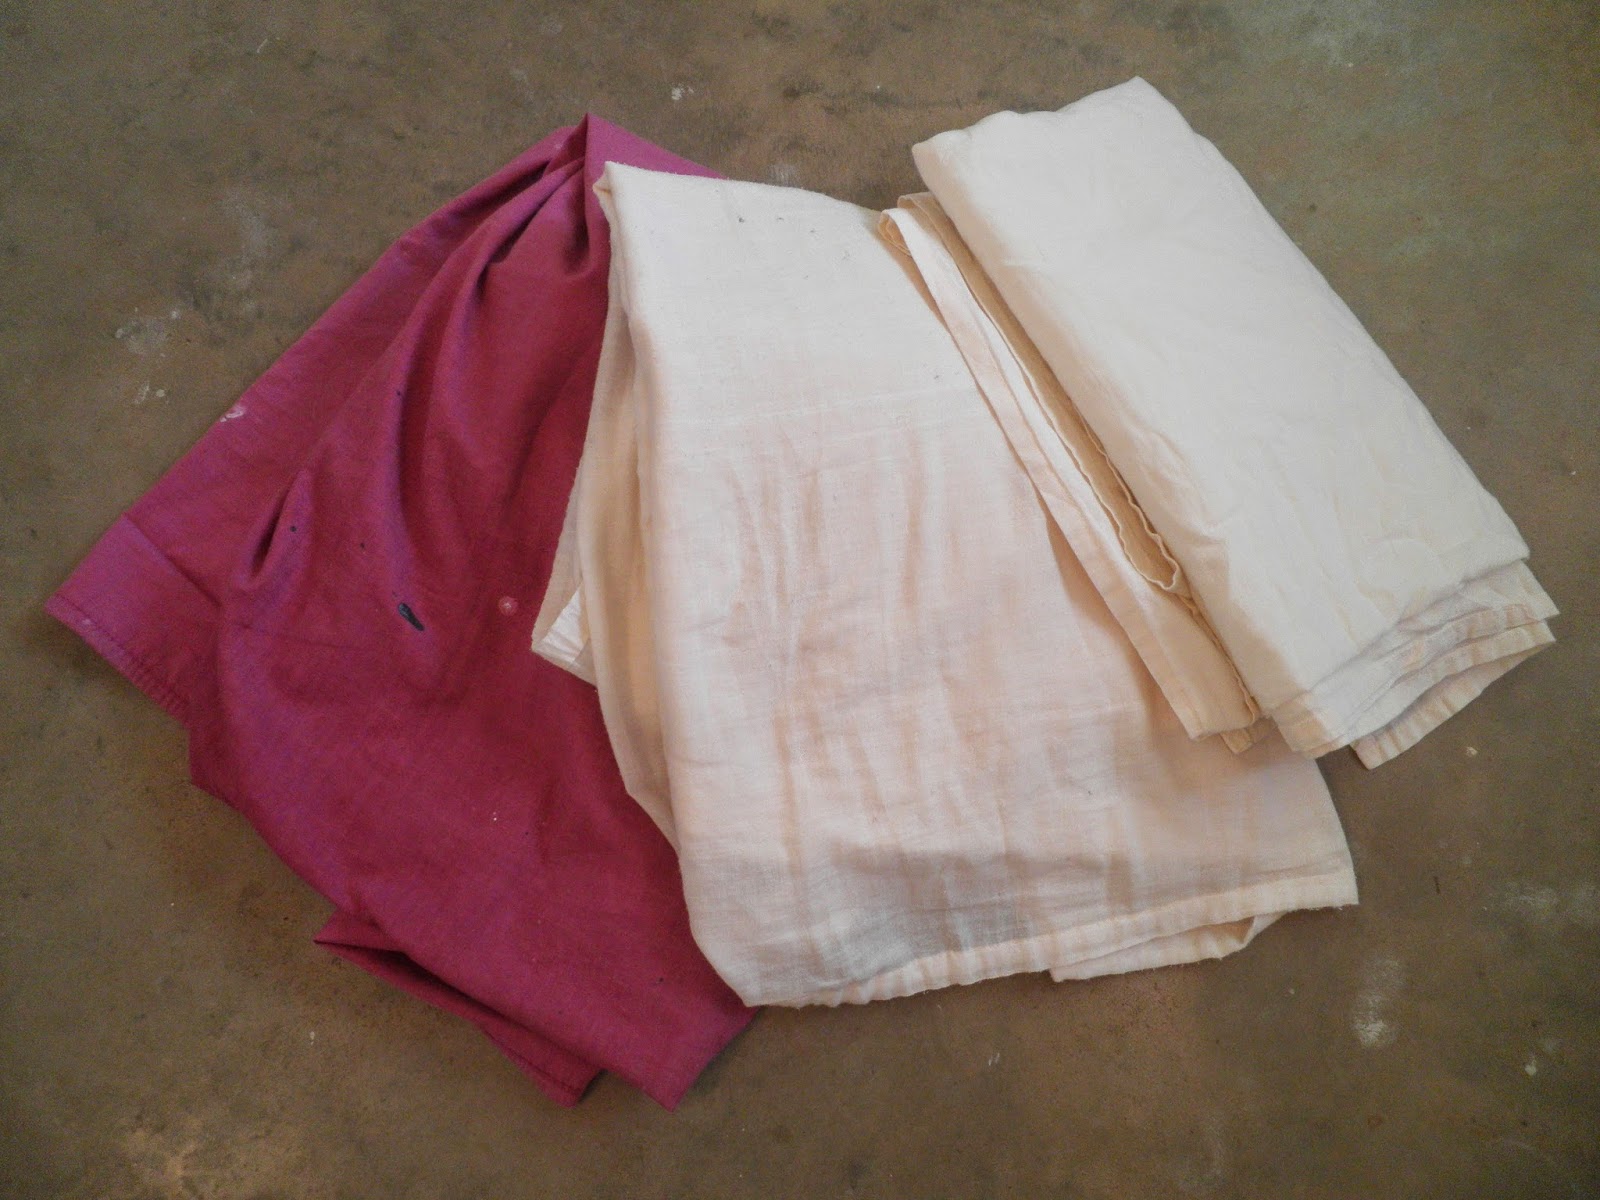
- old sheets
To lay on the floor underneath the
section being painted to catch any
paint drips and so not spoil the look of the floor.
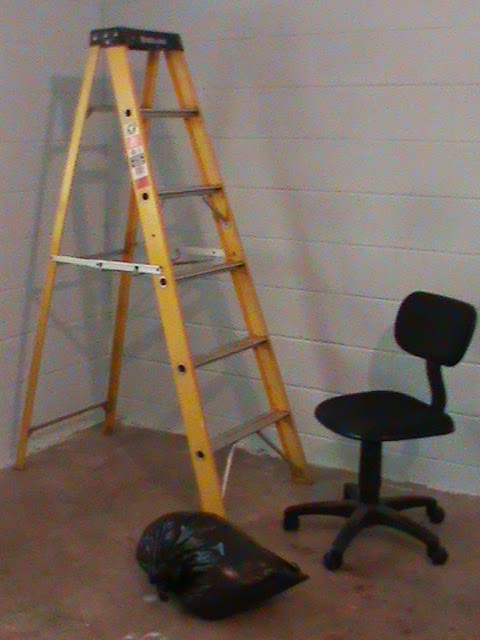
- step-ladder
- chair
- pillow wrapped up in a green garbage
bag
Method
* When working around or near
electrical equipment, it should be
turned off if possible. Lights should
be cool . Be careful not to let paint
drip in behind things like fan
switches and electrical switchboards
onto the wires.
Cornice
Using the 50 mm wall brush,
I painted along the cornice
and overlapped onto the ceiling and
wall.
I overlapped onto the ceiling enough
to cover any gap that would be left
by the roller when painting it later.
The next day I did a second coat.
Ceiling
A day after that,
using the roller with handle, and tray,
I painted in strips along the ceiling,
overlapping the edges of each strip
and also the overlapped paint
from the cornice.
The next day I did a second coat.
Walls
(Doing one wall at a time -
not altogether)
A day after that,
using the 25 mm wall brush
I carefully painted just along under the
cornice.
Then, using the 75 mm wall brush
I painted the wall in sections.
Doing everything that needed the use of
the step-ladder.
Then, everything that could be done
standing up.
Then, everything that could be done
while sitting on the chair.
Then, everything that needed me to
kneel on the pillow
in the garbage bag.
Along the base of the wall,
I used the 50 mm wall brush,
being careful to only run
a neat line of paint along
where it met the floor.
I did 2 coats for each wall
over a number of days.
Around the door and window
Using the 25 mm wall brush
I painted carefully around
the edges of the door and window
just before I came to them
with the larger brush.
I used the artist's size 0 brush
to go over any coloured paint
that went onto the cornice
from the wall,
and also in any places that were fiddly.
(c) Katherine Stuart 2014


.jpg)


