The Photography Area
This is what I'm using for the photography area.
It's my dressing-table,
but it's a useful surface
for setting up for my overhead photos.
What I do,
is fold up a single bed sheet,
and lay it over the mirror
and the table surface,
as shown here.
I use a sheet that is of a neutral type colour,
such as the beige, here.
It's dark enough to make a contrast
with the white of the paper of the subject
that I'm photographing.
If your subject was a dark colour,
you could use a lighter coloured sheet / piece of
fabric to contrast with it,
if you wanted to and you're including that in your photo.
Then I place two light sources,
which are two desk lamps,
at either end of the table surface.
And place the subject to be
photographed
in the middle.
Then I turn the lamps on and
shine them onto the subject
to get the best illumination,
without it being too bright
and getting a reflection.
It took a little bit of trial and error
to get the right positions
that produce a good image
on my camera.
One lamp is also noticeably brighter
than the other one,
so I shone it to one side of the subject
and not onto it,
as I did with the other one,
as you can see above.
(c) Katherine Stuart 2014
Friday, February 21, 2014
Tuesday, February 4, 2014
Art - Painting Technique "Bow"
This was the area where the bow was to be
painted.
Previously, everything underneath had been
painted,
including the shadows that go underneath
the bow and ribbons.
You can still see faintly,
the pencil marks
in the saucer, candle and wooden surface
that show where
the parts of the bow should go.
I wanted to achieve the effect
of being able to see through the bow,
as it is made of a sheer fabric.
To do this, I used -
a small amount of colour + a lot of water.
There are 2 colours that I used.
What I did was to mix up the two colours
and have them ready at the same time,
so that I could paint quickly
and have everything look even.
The colours are -
1. - green + a small amount of yellow
to give a green lime
(see the blog entry
"Art - Is it the right colour?" )
- some white + a very small amount
of this green lime
to give a light green lime
- a lot of water
(in your palette "circle" for mixing) +
a very small amount of this
light green lime.
2. - yellow + enough red
to make a red orange
(see the blog entry
"Art - Is it the right colour?")
- some white + some of this red orange
to make a mid-tone
of light red orange
- + a very small amount of blue
to make it a little bit pinkish
- a lot of water
(in your palette "circle" for mixing) +
a very small amount of this
light pinkish red orange.
So, have these two colours ready.
It was a bit trial and error
to work out how thick to make the colour.
But what I did was to put on a coat
that was quite thin first.
If it wasn't thick enough,
I would make it a bit thicker
with more colour and try that,
until I was happy with it.
It is much better to start with a thin coat,
and build up with more coats,
than start with a thick coat
and it be too thick
and too hard to change.
Using brush strokes that followed
the length of the part of the bow,
I painted them in this order -
1. Tails - light green lime
- pinkish red orange
2. Underside of bow folds
- light green lime
- pinkish red orange
3. Top of bow folds
- light green lime
- pinkish red orange
4. Green highlight around some of
the edges of the bow
- light green lime +
a small amount of water
It didn't take very long, as the paint dried
fairly quickly.
(This is painted in acrylic paint)
(c) Katherine Stuart 2014
Monday, February 3, 2014
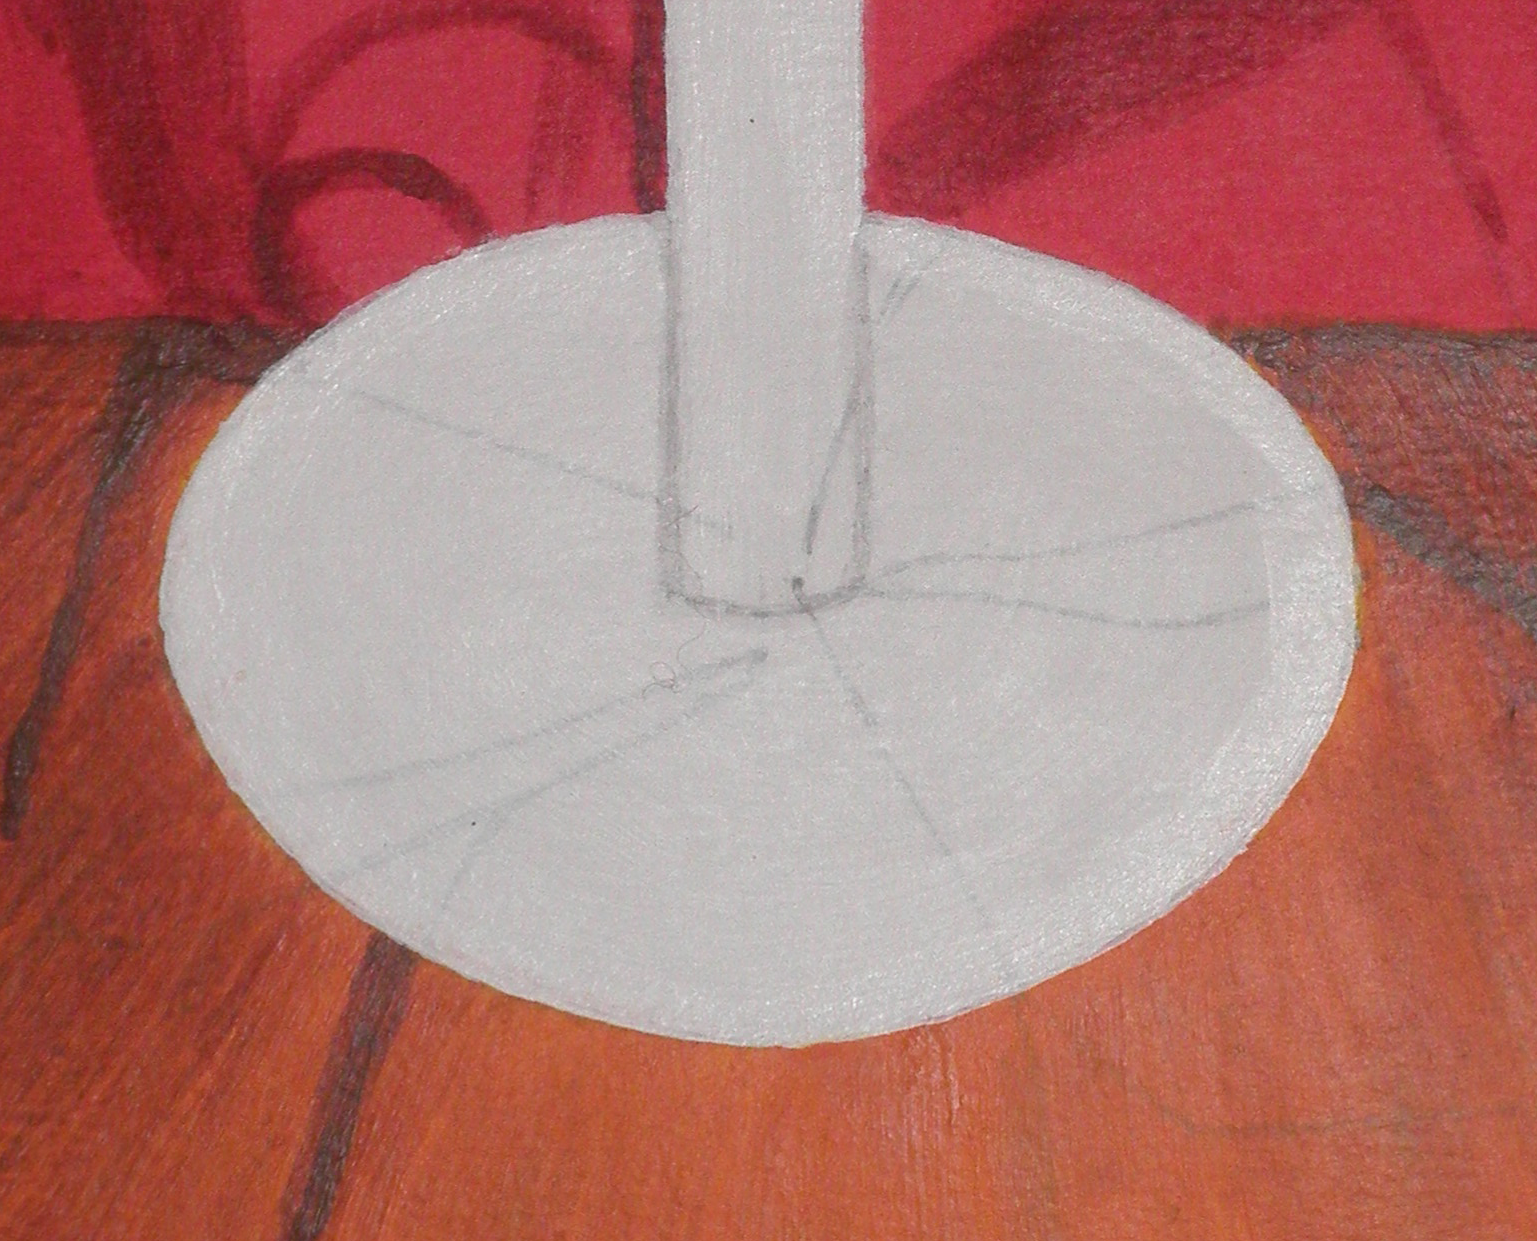
Art - Painting Technique "Shading a Saucer"
before I started to shade it.
The foundation colour is -
white.
I had painted over the outline
to smooth out the other colours
that had gone over the edge
into the saucer area.
So, the whitish line of paint
that you can see around the edge
is from that.
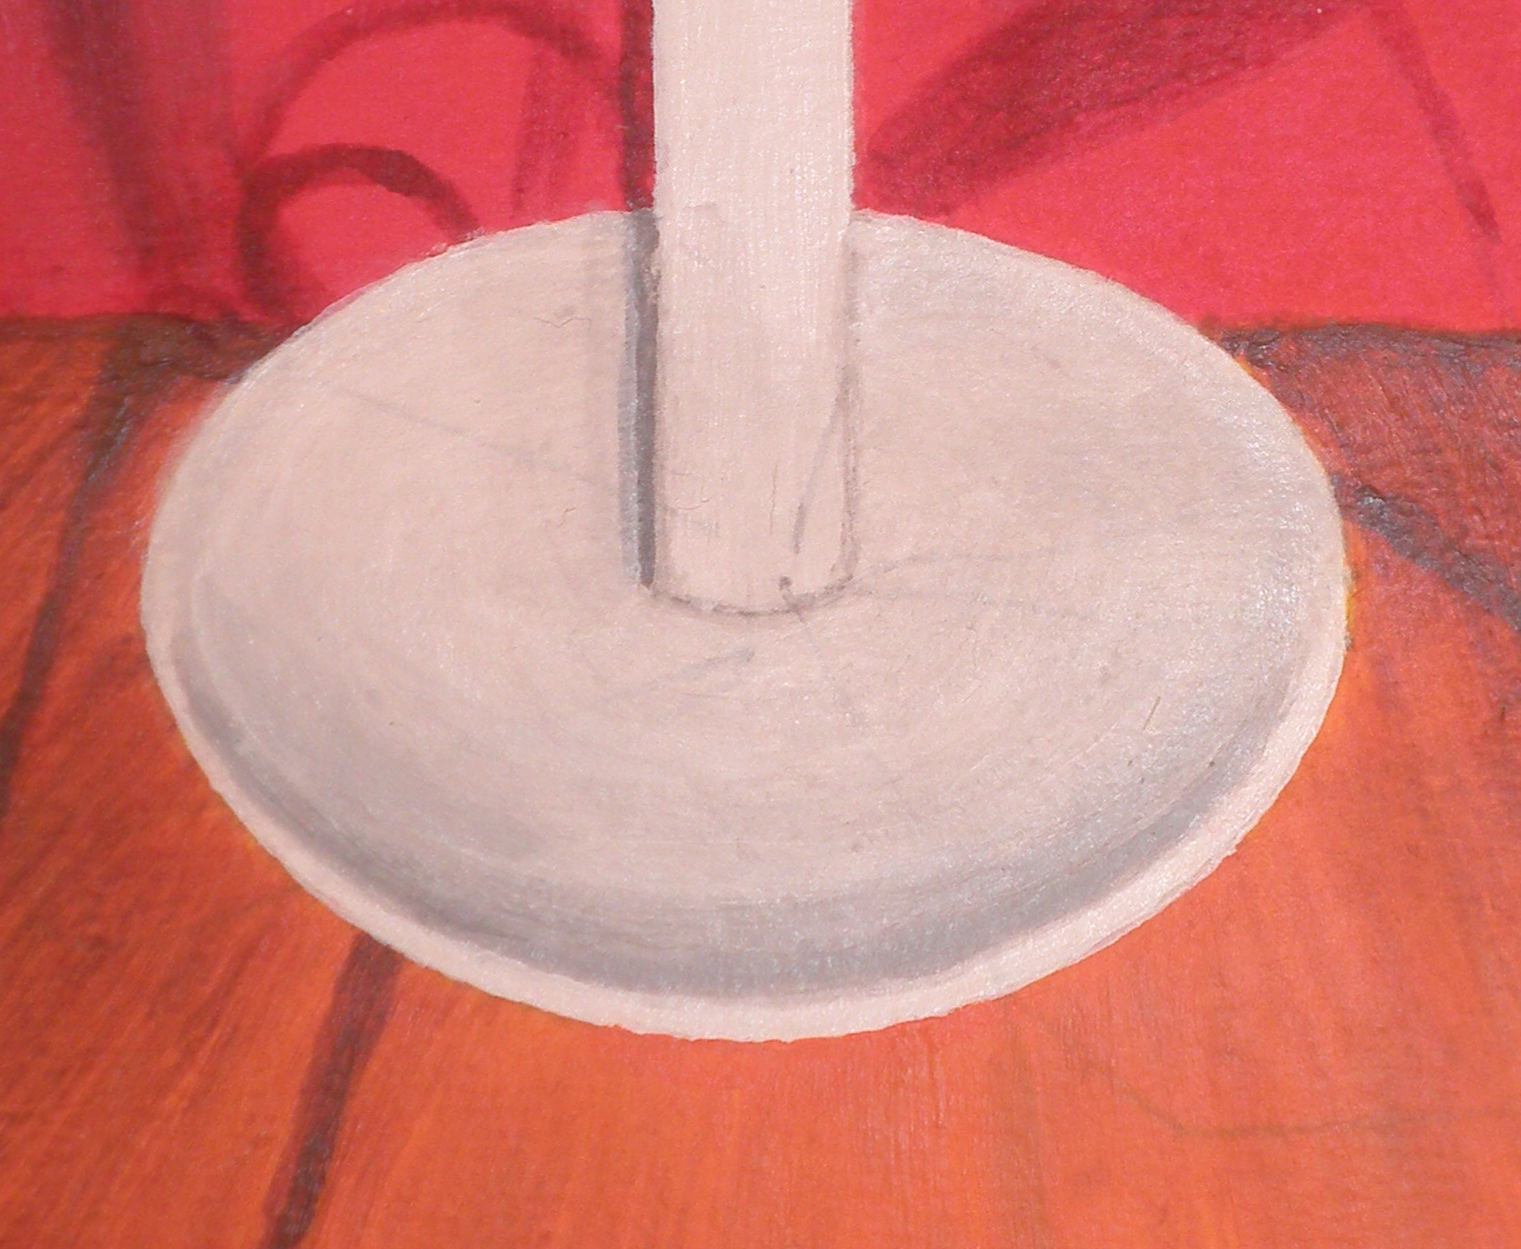
To shade in the saucer
I have used only one colour, a -
white + some black.
to give a dark grey.
I started first with a colour -
a small amount of dark grey +
a large amount of water,
to give a light grey.
Using circular brush strokes
going around the saucer,
I painted this in the whole area
of the saucer, except the rim.
Then, I used a colour -
a small amount of dark grey +
a small amount of water,
to give a middle tone grey.
Using circular brush strokes
going around the saucer,
I painted this in a narrow area
going alongside, but not into,
the rim at the bottom of the saucer.
This creates the "shadow".
Lastly, I used the colour -
dark grey.
I painted this in an even narrower band
right alongside, but not into,
the rim at the bottom of the saucer,
tapering the ends.
This finishes this shadow.
With the same colour,
I painted a very thin line
beside the left side of the candle,
within the saucer area.
This gives a small shadow
behind the candle.
It took a bit of re-working
to blend the bottom shadow
properly into the light grey.
I also evened out
the pointy edge
at the bottom of the saucer,
with a bit of the left over -
brown.
(This was painted with acrylic paint)
(c) Katherine Stuart 2014
Subscribe to:
Posts (Atom)


